
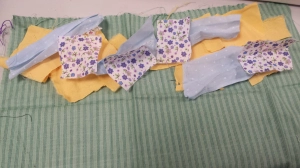
Step 1
As the picture shows, begin laying your fabric scraps (any shape, colour or fabric type) onto one side of your base fabric. This is because this fabric will be folded.
Step 2 Continue to layer
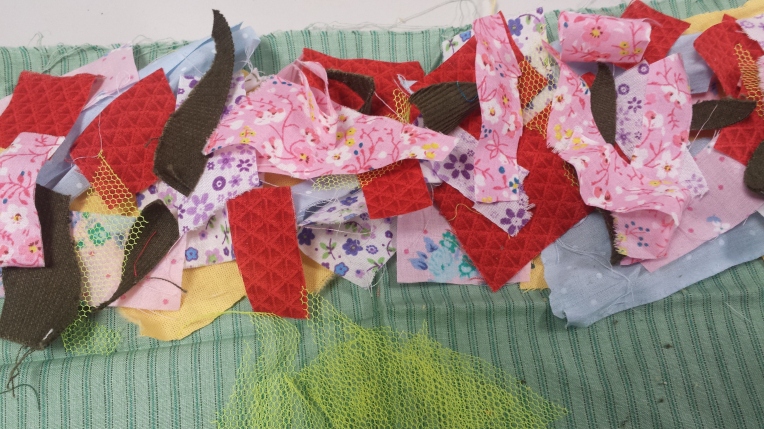
Step 3 Once you have a whole heap of fabrics layered onto your base. Fold the fabric in half to cover your pile of scraps.
Step 4 Press/iron vigorously to flatten the layers down. With a sewing machine, then straight stitch around the edges of the fabric to make an enclosed parcel. Step 5 Now using the same stitch, sew your design onto the fabric. This can be straight lines, curves or whatever you wish, but stitch lines need to be close together (you are creating tram lines that you will eventually cut between). I decided to follow the pattern on the fabric and stitch along the stripes horizontally.
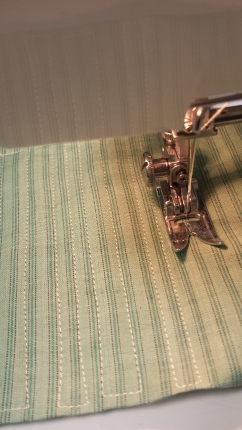
Step 6 Once your design is stitched, you
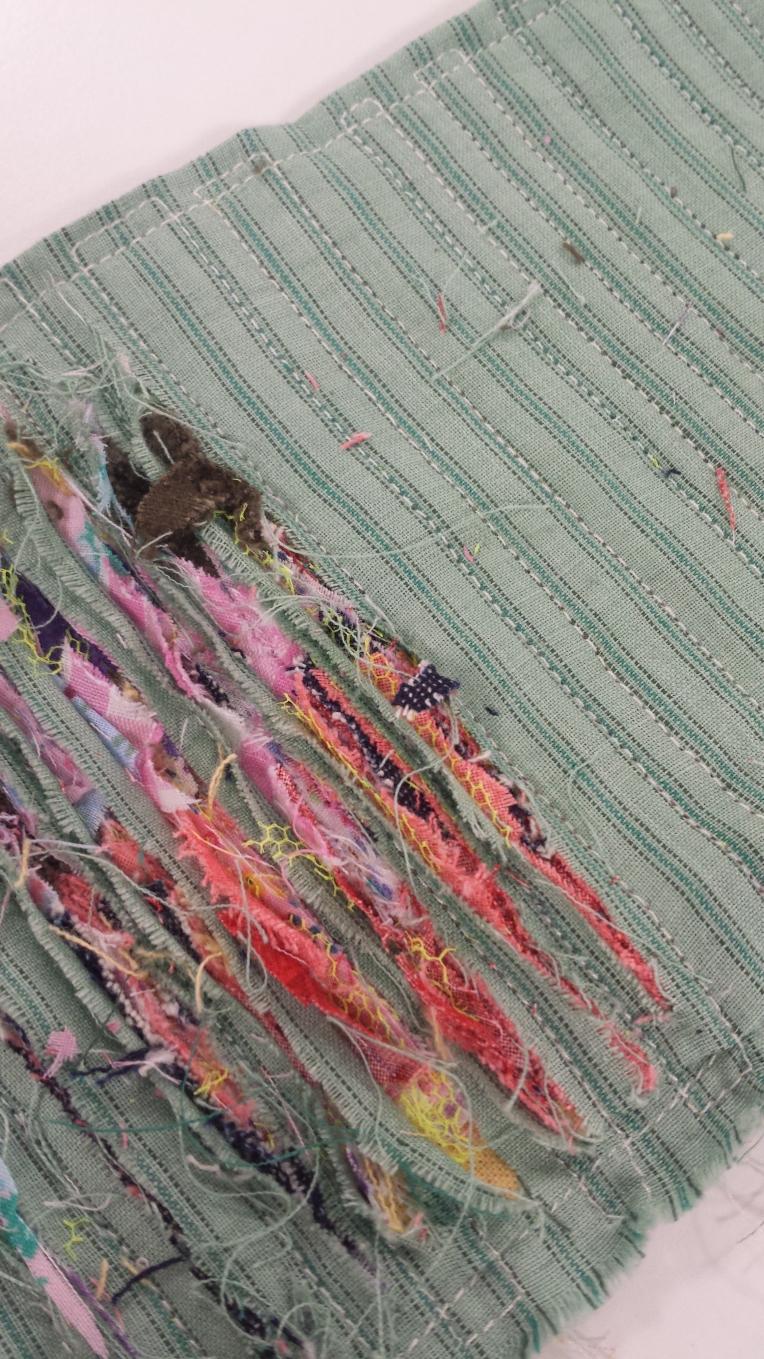
Continue this process to further reveal the under layers. Tease out the scraps if necessary.
Once this is complete, to finish off the sample, embrace the texture it creates by increasing the surface friction and therefore further fraying the fabric and revealed pieces. You can do this by hand washing the surface vigorously with washing up liquid, bashing the fabric against a brick wall, putting it in the tumble dryer, or any other method you fancy.
The finished result
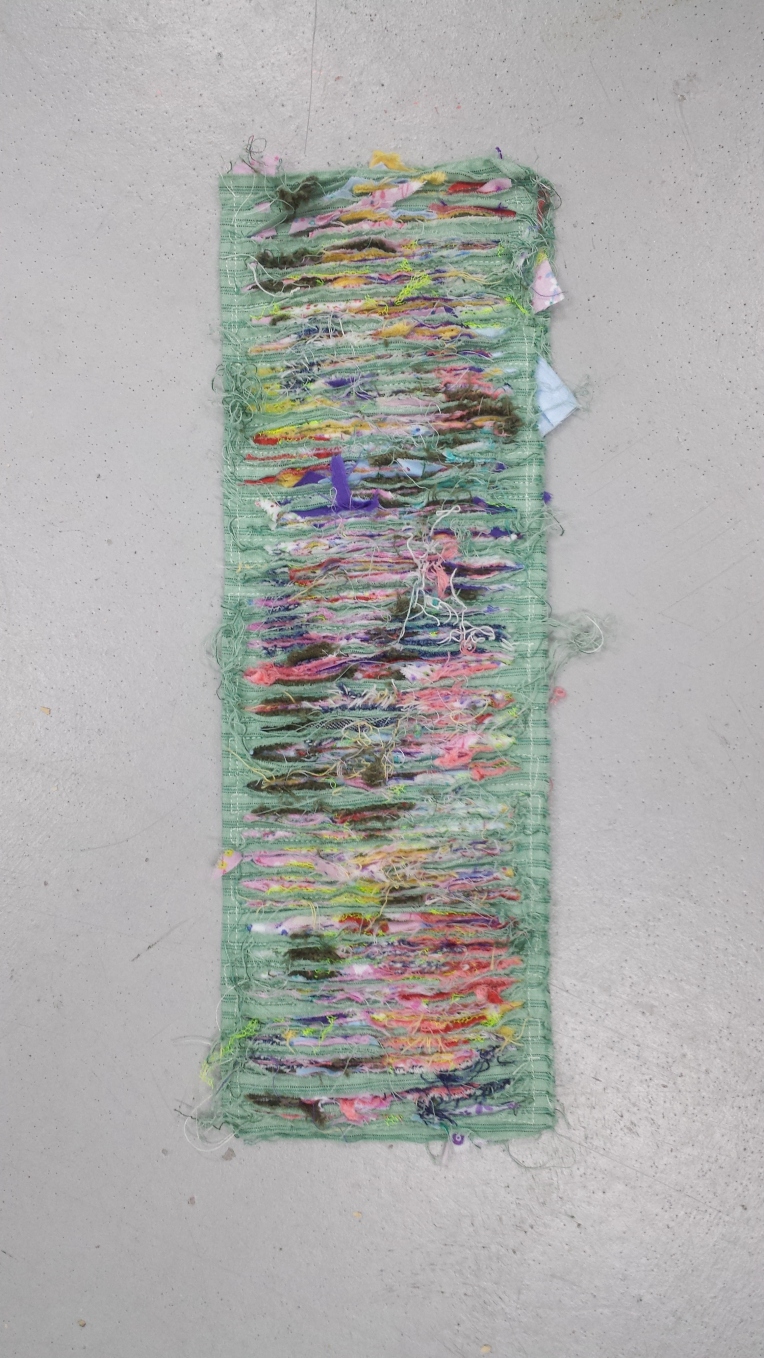
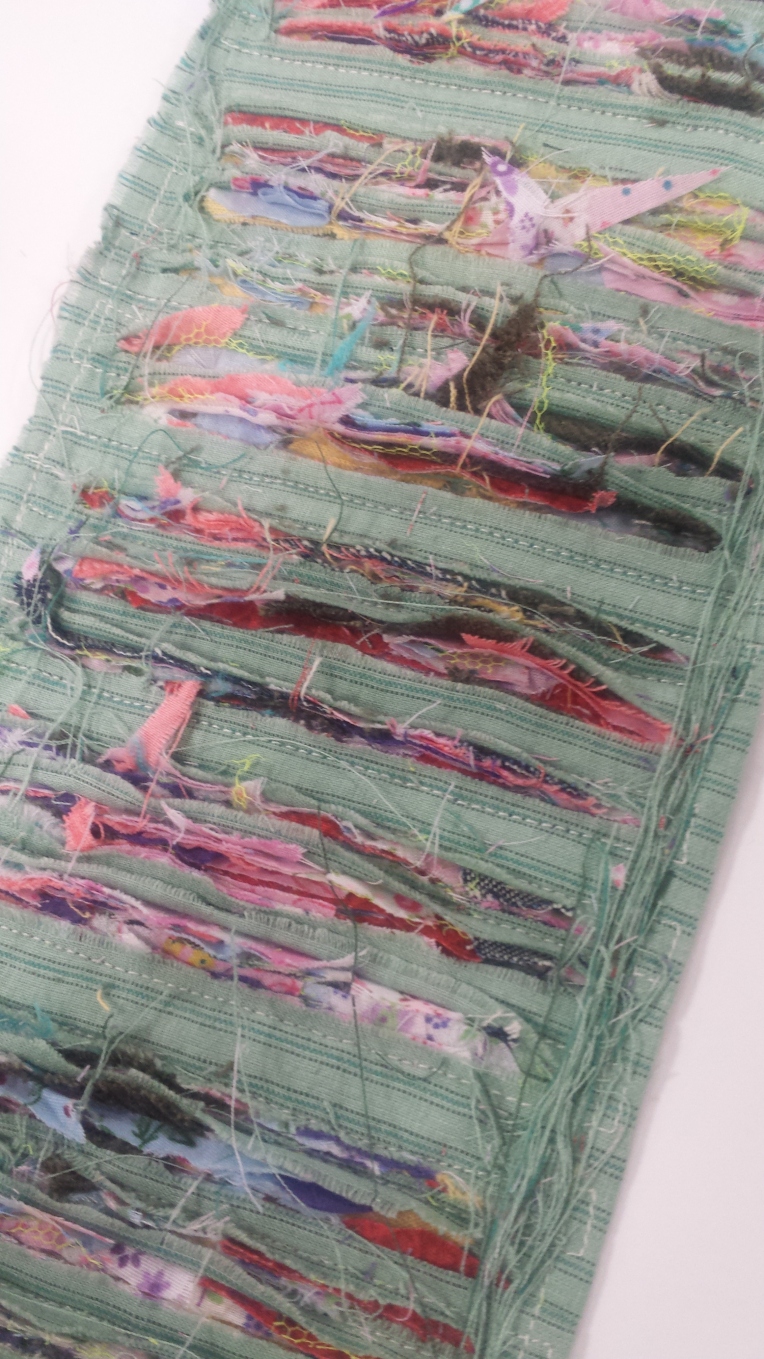
Beautiful, but what could you use it for?
I faced the similar dilemma and have actually done nothing with mine yet, except look and admire. However you can use it for a whole host of products, or with further work, as a piece of Textile Art in its own right.
Cushion Cover: A square versions would make an excellent cushion cover or decorative insert. The best part of all, the more it gets used and the older it gets, the better it looks.
Patchwork Quilt Border or insert: Similarly if you fancy a patchwork quilt, this process could produce a fantastic border or central decorative insert that could make your quilt stand out amongst all others. Choose matching fabrics for all the processes to produce something special. Patchwork squares and fabrics with a shabby chic style.
A personalised wall hanging: One of the best things about this technique is that you can work with it however you wish. There are no right or wrong ways to do it, just be creative and see what happens. To produce a beautiful wall hanging, add further texture and sparkle by sewing on small beads or buttons. Or stitch ontop of the slashing to write a message or add greater surface decoration. Try It out!
I would absolutely love to see what you have managed to create, I need your inspiration and ideas too. Please share your makes with me on our facebook page Instagram or twitter or please respond to this blog.
I aim to take all of this creativity to further develop the products and fabrics on hotpinkhaberdashery.com so hopefully you can support me with that!
Be seduced by slashing, give it a go and share!
Original article and pictures take https://hotpinkhaberdashery.wordpress.com/2015/08/07/hello-world/ site
Комментариев нет:
Отправить комментарий